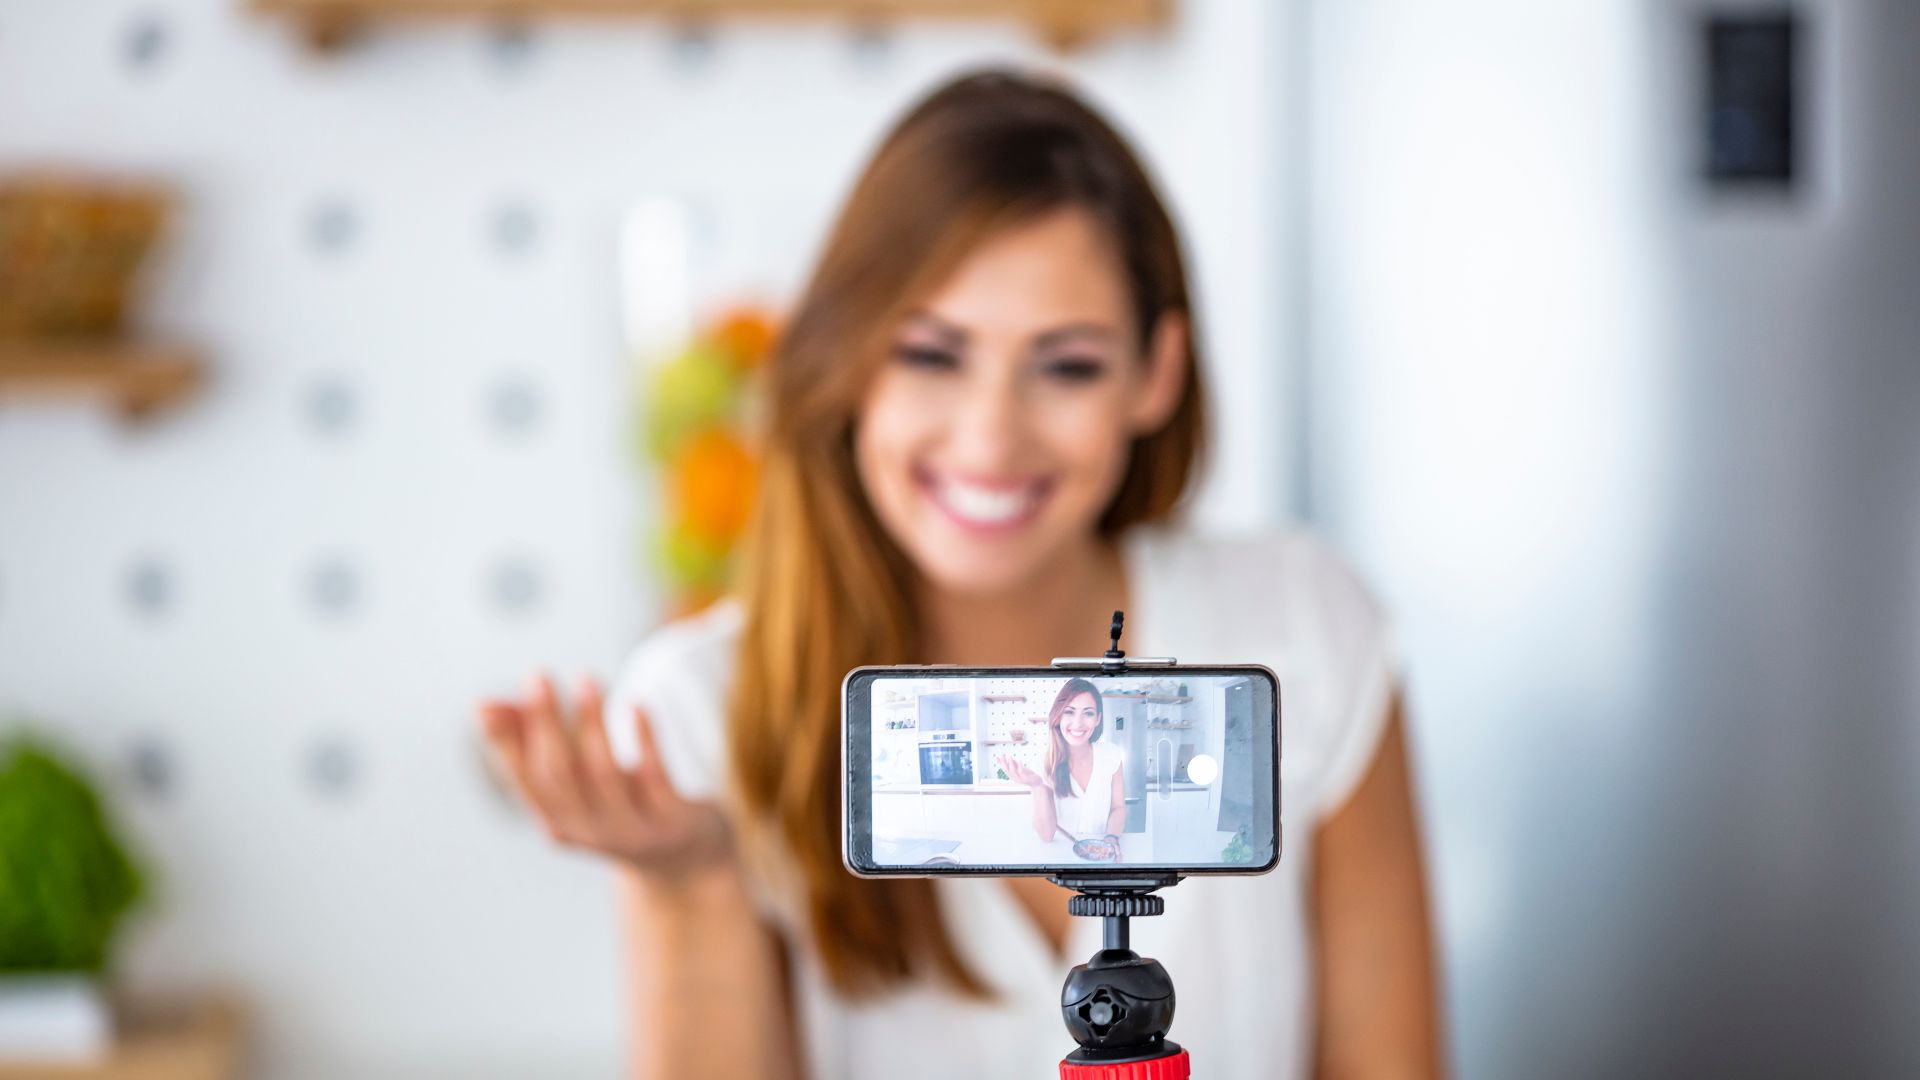
Take a look at his Instagram model, who has 2.6 million followers, and this one has 294,000 followers. But did you know this person actually doesn’t exist in real life? This is an AI-generated model created by someone who can possibly earn around $1,000 per post. So in this article, I’ll show you how you can create your own realistic AI influencer in just four simple steps. So make sure you watch the article till the end.
Before we start, please note that the purpose of the purpose of this article is to show how easy it is to create an AI influencer; however, misusing this technique could get you into trouble, so use it wisely. Alright, now we are going to create our AI influencer using a tool called Focus. Focus is an AI image generation software that is basically a mix of stable diffusion and mid-journey, and as a result, you can use it to generate AI images in very high quality by creating realistic AI characters like these, upscaling an image, or swapping faces in any image you want. With this tool, you can easily generate any kind of image you want. Alright, now there are these different ways in which you can access this tool. The first way is to install Focus locally on your computer. If you go to the github page, you can see the minimum system requirements needed to run Focus locally. You can check it out and see if your system meets these requirements. If it does, I have provided a link in the description below that will guide you through the installation process. Another way to use the software is through Google Collaborator. This method is also free, but you might have to face some runtime issues. I have provided the link for this too, so if you are interested, you can go ahead and check it out. The last method is to use focus in run diffusion. Run diffusion is a cloud-based tool where focus is already installed. You can just launch it and use it. You can use it for free, but only for a short period of time. After that, you will have to pay for and use it. Okay, so compared to the previous two methods, using run diffusion is more accessible and easier to use. So in this tutorial, I am going to show you how to do it using run diffusion.
So to create our realistic AI influencer, we are going to do four steps. The first step is to focus on run diffusion. . On run diffusion, you will get a 30-minute free trial to use Focus. Once the free trial ends, you will need to pay a minimum of 5 dollars, with which you will get 10 hours of access to the tool, which means 1 hour costs 50 cents. Also, if you want, you can use the 10 hours in one go, or you can pause the timer and use it whenever you want. Alright, to get started, just click the free trial button and sign up with your Google account. Here, you can see we have different tools to choose from. So let’s go to Focus and click on Select. Then click launch. Now let’s wait for it to launch, and it’s done. Here you can see that the timer has started running, but don’t worry, you can pause it whenever you’re not using the tool, just by clicking here. Okay, once you’ve reached this page, we can go to the next step, which is to generate the AI character. And once we have the AI character, we can use it to create a video like this. First, let’s hide the sidebar by clicking here, so that we have more space to work with. Alright, now to create an AI character, we need to describe our character, like how we wanted to be, the clothing, the personality, and our height. You can even add minor details like the color of the skin, hair, eyes, and so on. If you need help, we have a tool on gravity right that can generate the description for you. And trust me, the descriptions it generates are really good. So just click the link below this video, and it will take you to this page. Now here, you need to enter the details of your AI character, like how you want to be. Once you’ve entered that, click create content, and you can see that it has generated three different descriptions. You can go through them and copy the description you want. Then go back and paste it here. Now click advanced, and you will get these settings. Under the performance tab, you will see these options to choose from. If you choose speed or extremely speed, it will generate the image very fast, but the quality will be low. So I recommend you choose quality so that you will get the best possible AI characters. Then, here, select the aspect ratio you want. I’m going to choose 13 from 19 and then drag the slider to choose the number of images you want. I’m going to choose 4. Now scroll up and go to the style tab.
By default, these three options will be selected. We’ll just include the focus photography option, which will give us more photorealistic images. If you want, you can try all these different styles and select which one you want according to your preference. Once you’re done, just click generate, and this tool will start generating the AI images. You can see that it has generated an amazing AI character in four different styles. I can’t believe it’s so realistic, and the quality of the image is also very good. Just select the one you like and download it by clicking here. If you’re not satisfied with the character, you can generate it again by clicking here or even trying out a different prompt. A quick note: when you create an AI influencer, keep in mind that you will need to generate the same character again and again to maintain consistency in whatever you post. So choose the AI character that you want wisely. Okay, once we’ve generated the AI character, let’s go to the next step, which is to create different variations of our character. For example, we’ve got our AI character in a park or a lawn, right? But what if, let’s say, you want a character to be at a music festival or catching some waves at the beach? Well, guess what? With this tool, you can do that as well. Not only can you change the background of the AI character, but you can also change the type of dress, hairstyle, or anything else that you want. So to do that, let’s go here and click the import image option, then go to the image prompt, and here you need to add the image of your AI character. You can just drag and drop it from here, then go to the bottom of the page, click on the advanced checkbox, and then you will see these options below the image. Now let’s choose the face swap option. After that, here you can make changes to the description, like how you want the image to be. For example, I want the same image of this girl at a music festival. So I’m going to enter that here. Once you’re done, click generate. And you can see that it has generated the image exactly the way I wanted it. Amazing, right? In the same way, you can change the prompt however you want and generate different variations with the same character. Alright, here you can see that it has generated only the AI character and a very small portion of the background. So next, let’s see how we can extend the image like this and get more of the background. So to do that, let’s go to this tab, then drag and drop the image you want to extend, click on all these checkboxes to extend our image on all sides, and click generate. Now it looks much better. Okay, next let’s see another interesting feature, which is to generate the same AI character in different poses like this. All you need is a picture with a specific pose, and you can get your AI character generated in the exact same pose. If you don’t have one, you can get many different photos from free stock websites like pexels or unsplash. So let’s go to pexels.com. And here, you can search for any image you want. I’m going to search for a portrait of a girl. And as you can see, we have different images to choose from. Just select the image you want and download it by clicking here. Then go back to this tab, click the image prompt, and then drag and drop the image that you just downloaded. Now select pyrakani, which will let the tool copy this post from this image, and click generate. And you can see that it has generated the AI character with the same post that we uploaded.
Amazing, isn’t it? If you look closely, it feels like the face of this image is not exactly matching our AI character. So let’s see how to fix that. Go to the in-paint-out-paint tab. Remove the old image. Now drag and drop this image here. Then click on the brush icon. And you can adjust the size of the brush using this slider. Now Draw over your character’s face like this. Click on this drop-down. Select Improve Detail And click generate. You can see that it has improved the face of the AI character, and it looks much better. Select the one that looks best and download it by clicking here. Not only this, but in the same way, you can also fix the AI character’s hair or hands in case they don’t look proper. Okay, this is how you can create different variations of your character, even with different poses. Next, we can go to the final step, which is to create a video of our AI character like this. So to create the video, we are going to use a tool called face fusion. To check it out, just open a new tab and search for Google collab face fusion, then click this link, and it will take you to this page. Now here, click connect; after that, we need to run these three files. So let’s go here, click on the play button, and click run anyway. And then do the same for these two files too. Once it’s done, here you can see that we have the link to access the face fusion tool. Just click on it, and it will take you to this page. Once you are in, just choose the face enhancer option from here, then click here, and upload the image of the AI character you want in the video. Once you have uploaded the image, here you need to upload the video in which you want to do the face swap. You can either use the video you already have or download and use free stock videos online.
I am going to upload this video from my computer, and while uploading, make sure you never use anyone else’s video without their consent, as it will definitely get you into trouble. Once you’re done, just click start, and it’ll start generating the output. Once it’s ready, if we play it, you can see that it has successfully swapped the face. And we have the video with the face of our AI character. It’s so cool, right? If you like this output, you can download it by clicking here. Now that we have the video, you can go ahead and post it on Instagram or YouTube Reels. Okay, so that’s it, guys. This is how you can get a realistic AI influencer.